If you’re planning on running or are currently running an educational website, then you should add an LMS or a learning management system plugin...
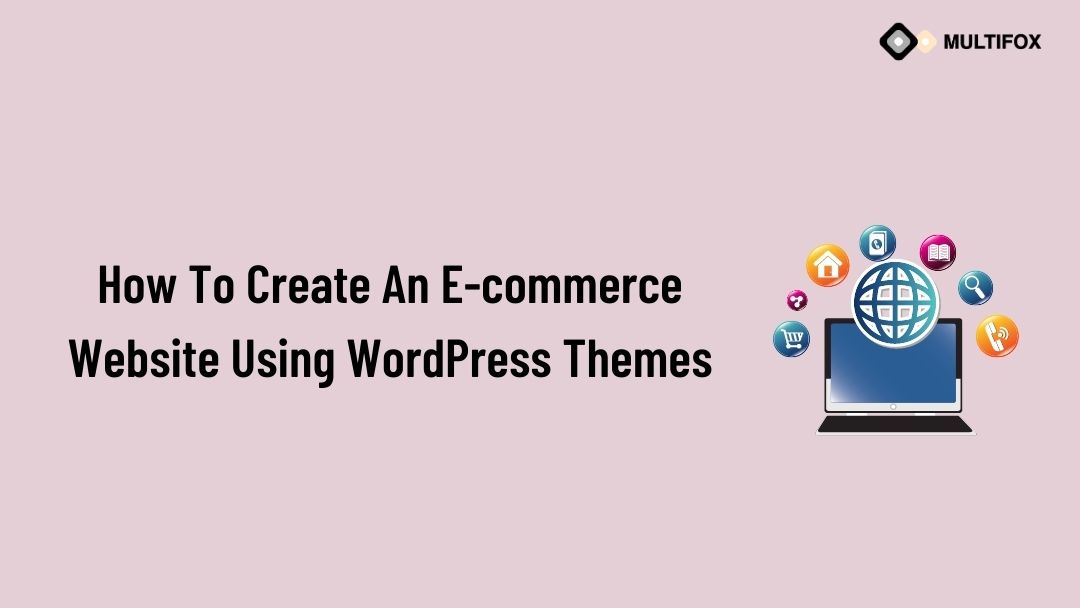
As the title of this article suggests, this blog is going to be the ultimate guide on how to create an e-commerce website using WordPress themes. It is very useful to create an e-commerce website using WordPress themes. A huge number of plugins are also included with WordPress that help the e-commerce website function fully, from the product display to the shopping cart and checkout process. Another strong case for WordPress is its adaptability. You have complete control over the design and functionality of your website, thanks to the platform. Additionally, you can include more pages, if necessary, in the future, such as blogs and forums. WordPress is free to download, install, and upgrade, which reduces the cost of development and deployment.
We could enlarge on WordPress all day. So let’s get back to the subject of how to create an e-commerce website using WordPress themes. The following is a list of each step in this process. To properly focus on the steps listed below, please take a seat.
Table of Contents
Step 1: Decide on a domain name and hosting company
Step 2: Pick an e-commerce website plugin
Step 3: Install your e-commerce plugin
Step 4: Pick out and set up a theme for your e-commerce website
Step 4.1: Why do we require a WordPress e-commerce theme?
Step 4.2: How do we find the right WordPress e-commerce theme
Step 4.3: Tips on choosing the right theme for your WordPress e-commerce store
Step 5: Create product pages and items
Step 6: Select a payment gateway
We will now discuss these steps in a bit more detail.
Establishing a website begins with choosing a domain name. The domain name acts as the address for your e-commerce website. When visiting a specific website, the name is typically typed into the address bar of the browser. To purchase a domain name, you must make a special payment. Make sure to brainstorm before settling on a domain name that users will quickly recognize.
You will need a hosting provider because they are the ones who actually host websites on the Internet. A hosting company’s primary objective is to minimize downtime and speed up website loading.
Installing WordPress is the next step after selecting your domain name and host.
Do you understand the distinction between a WordPress e-commerce website and a regular WordPress website without an e-commerce component?
It is the products that can be purchased straight from an e-commerce website. This is where the plugins come into play. Hence, to create an e-commerce website using WordPress themes, all you need to do is install an e-commerce plugin. The three most popular free and paid plugins for creating an e-commerce website using WordPress themes are listed below.
1. WooCommerce
2. Easy Digital Downloads
3. WP e-commerce
These plugins will support you in building and organizing the product pages on your WordPress e-commerce website. Additionally, they also facilitate a shopping cart and checkout process.
Now that you have decided on an e-commerce plugin for your website, the time has come for you to install it through the WordPress backend. It is the third stage of creating a WordPress e-commerce website.
Now comes the main step of creating an e-commerce website using WordPress themes. This step is the star of the blog, as the title itself includes this step.
WordPress comes with a few free default themes that give your website a stunning appearance. WordPress themes have the advantage of being simple to install and modify/customize as needed. These themes won’t alter the content of your website; they will only alter the look and feel of it.
If you choose a theme that is already included with WordPress, you only need to install it. Here’s how you do it-
1. Click “Add New” under Appearance > Themes on your WordPress dashboard.
2. Next, type the name of the theme you want to install. To enable the theme on your website, click the “Activate” button, which will take the place of the “Install” button.
Well, as discussed above, this step is itself included in the title; hence, we would like to extend it a little bit. In order to provide our readers with complete information regarding how to create an e-commerce website using WordPress themes, we will prefer to include the following topics as well.
1. Why do we require a WordPress e-commerce theme?
2: How do we find the right WordPress e-commerce theme?
3: Tips on choosing the right theme for your WordPress e-commerce store
The layout and usability of your store are the first things customers notice before making a purchase. Therefore, it’s crucial to choose an e-commerce theme that offers a positive user experience, which results in increased sales.
Additionally, a perfectly tailored and appropriate theme helps to develop the brand’s identity, which is important for winning over customers. Therefore, in order to provide our customers with the best possible shopping experience and guarantee low bounce rates, we need a fully functional and updated theme.
However, unless your website is fully functional, themes by themselves cannot provide your users with the best user experience.
1. Beautiful Design: Good element placement, a tidy layout, and a look that fits your products and market
2. Responsive Ready: To improve usability, designs should be responsive or ready to adjust to all screen sizes
3. Optimization of SEO: SEO-optimized content includes quick loading times, structured data, appropriate tagging, and links designed with search engine bots in mind
4. Extended features: Particular features that save time and provide value to your visitors, such as sliders, widgets, translation-ready functionality, and other features
5. Recurring updates: To keep the theme modern and compatible with more recent WordPress versions, a good support and developer maintenance system is required
To be both aesthetically pleasing and user-friendly, selecting the appropriate theme is essential. The following advice will help you select the ideal theme for your requirements:
1. Consider the target market when choosing a theme that amply conveys your brand identity.
2. Discover which theme would better represent your industry by looking at the websites of your rivals.
3. Prior to anything else, make a budget plan and compare it to the features you can’t live without.
4. To avoid slowing down the website, pick a theme that won’t require you to install a lot of plugins or add-ons.
5. Verify the speed of the shortlisted theme on the live demo before making a choice.
Still confused about which theme to choose? We recommend you check out the WordPress themes by MultiFox. They offer various themes based on different industry niches, such as
a. A theme appropriate for Charity Business
b. A theme suitable for nature and environment-related information and products
c. A theme applicable to businesses dealing in beauty and cosmetics
In order to learn more about their themes, we recommend you visit their WordPress Themes page.
After creating your e-commerce website with WordPress themes and installing the plugins, it is time to add products and the corresponding product pages. For each product, be sure to include the following headlines and features.
In the WordPress admin panel, add these categories and features. After selecting “Products” from the sidebar, click “ADD PRODUCT.” Use the same procedure for the remaining attributes.
There are a few things to keep in mind before adding items to categories.
The last step in every shopping process, whether it be offline or online, is making a payment. Creating an e-commerce website with WordPress themes will also help you construct your payment gateway efficiently.
After choosing the checkout option on your website, the customer is taken to the payment gateway’s website, where they enter their credit card details.
An online payment gateway verifies interactions between customers and your e-commerce website. However, in order to use the features of the payment gateways effectively, you’ll need an SSL (Secure Sockets Layer) certificate.
The Secure Sockets Layer (SSL) protocol, now referred to as Transport Layer Security (TLS), makes use of cryptographic methods to ensure that data is transferred over the Internet in a secure and safe manner.
A good place to start when obtaining an SSL certificate is with a domain name registrar or hosting provider.
Normally, this is a decision that can be made during registration, but for a small fee, it can also be made after securing a host.
Keep two things in mind before adding a payment gateway to your e-commerce website.
Not every payment gateway is compatible with e-commerce plugins. Make sure your e-commerce plugin’s extensions include your preferred payment gateway.
These days, mobile is heavily used in every online transaction. Customers must be able to browse your store’s inventory and make purchases using their smartphones. Pick a payment gateway that supports mobile transactions and provides an optimized mobile experience with an attractive user interface.
This was our blog on How to Create an E-commerce Website Using WordPress Themes: The Ultimate Guide. Well, we are sure we justified the title quite well.
You might be a first-time e-commerce store owner. Or instead, it is not a surprise if you are an old-timer. The only advice we can offer you is to pick a theme that is compatible with your brand and requirements.
An ideal theme aids you in achieving exactly what you need for your e-commerce store. As a result, it must be strong enough to compete with established players and also accurately represent your brand.
We recommend you also go through how to choose a WordPress e-commerce theme. This blog is a complete guide on the steps one needs to consider while choosing a WordPress theme for an e-commerce website.
For further assistance in creating an e-commerce website using WordPress themes, do not feel shy about contacting us. We will be grateful if you give us a chance to assist you with anything related to creating an e-commerce website using WordPress themes.
Meta Description
Presenting you with the ultimate guide on how to create an e-commerce website using WordPress plugins. Check out all the steps now.
AlsoRead:
If you’re planning on running or are currently running an educational website, then you should add an LMS or a learning management system plugin...

SEO content is defined as the type of content that is written in accordance with various guidelines in order to play a role in...