If you’re planning on running or are currently running an educational website, then you should add an LMS or a learning management system plugin...
This article will teach you how to add images to your WordPress site and attach a link to an image in WordPress using Default Block Editor and Elementor Page Builder.
Table of Contents
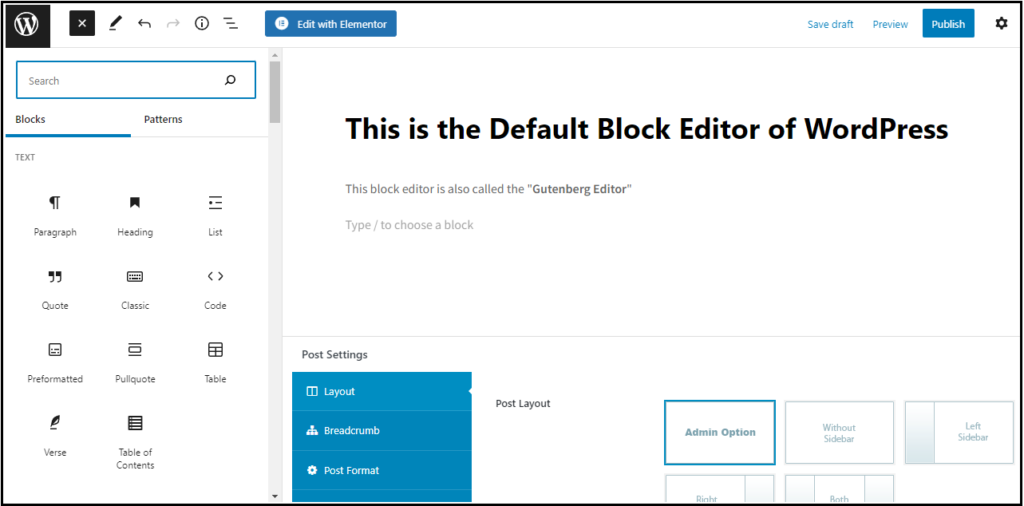
The block editor, also called the Gutenberg editor, has been the default WordPress Editor in use since WordPress 5.0 was released. This editor replaced the classic editor to effortlessly build creative pages and blog posts. Know all about WordPress Block Editor here.
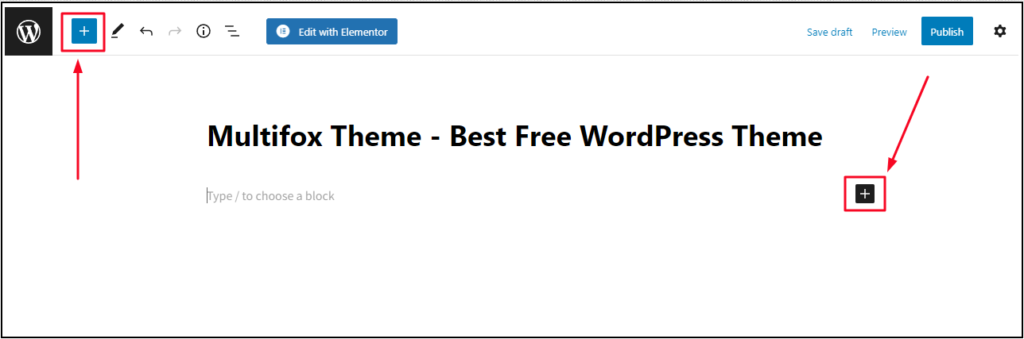
1. Click any of the + (plus) icons in the editor as shown in the image.
2. Click the Image Icon.
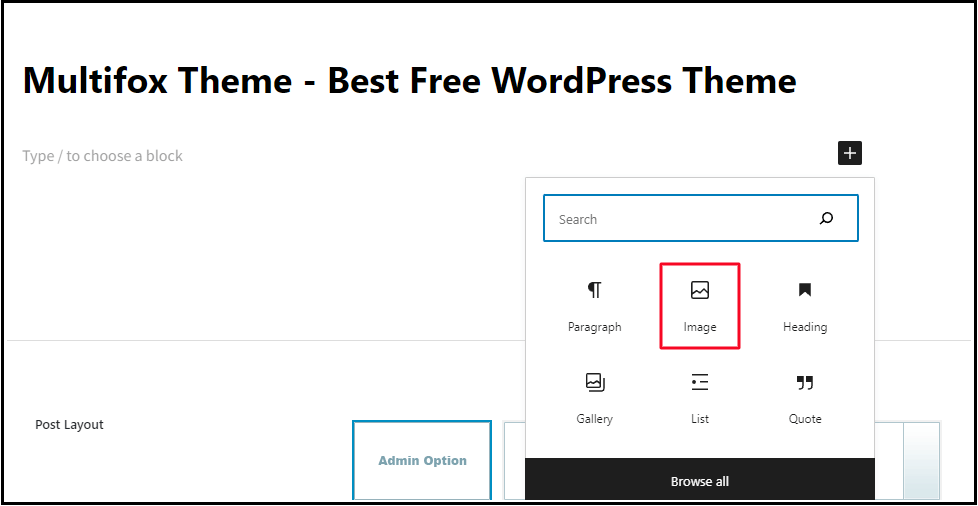
3. Click the Upload Button to Add an image from your device. You can also upload the existing photos from the Media Library or Insert images from the URL.
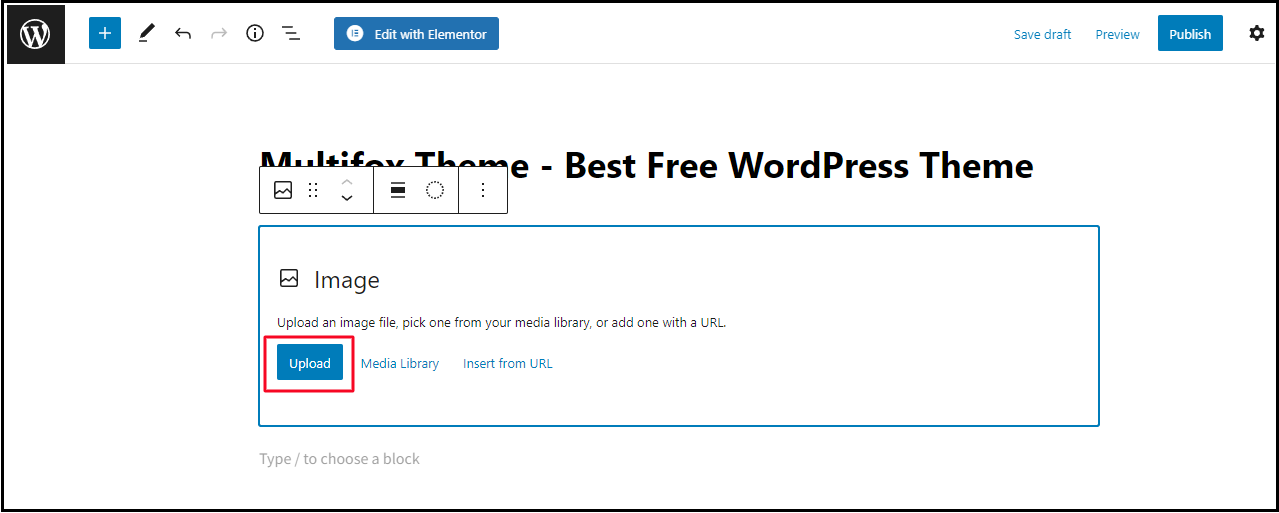
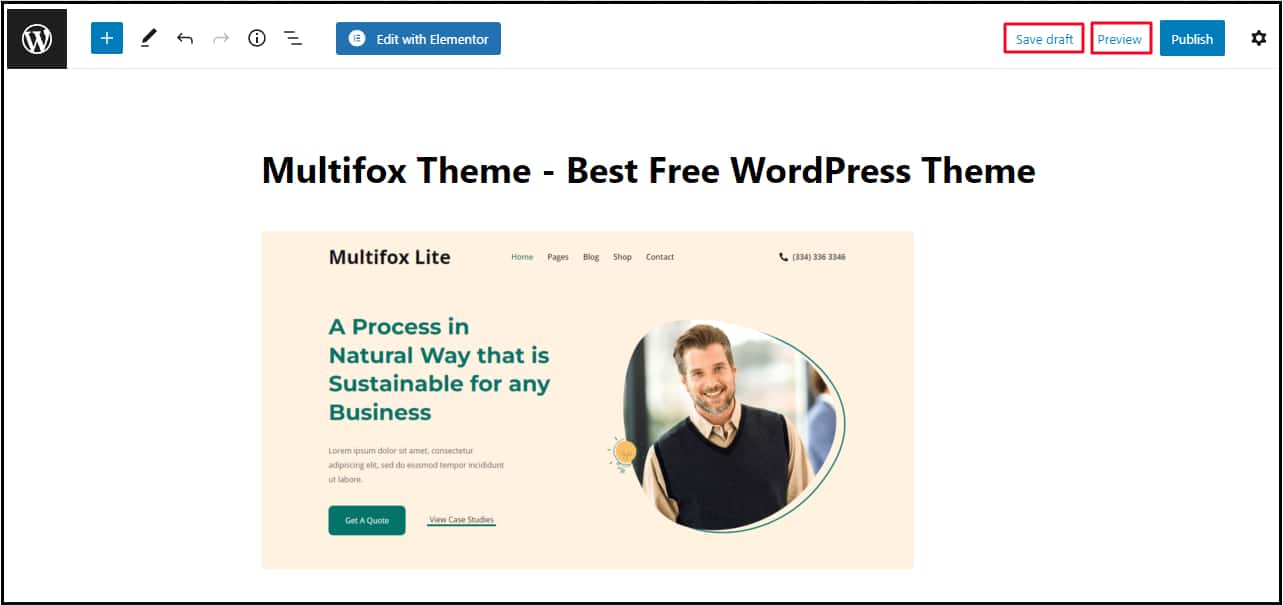
4. Once the image is uploaded, you can click Save draft to save your works and click Preview to view how it looks on the front end for the website visitors.
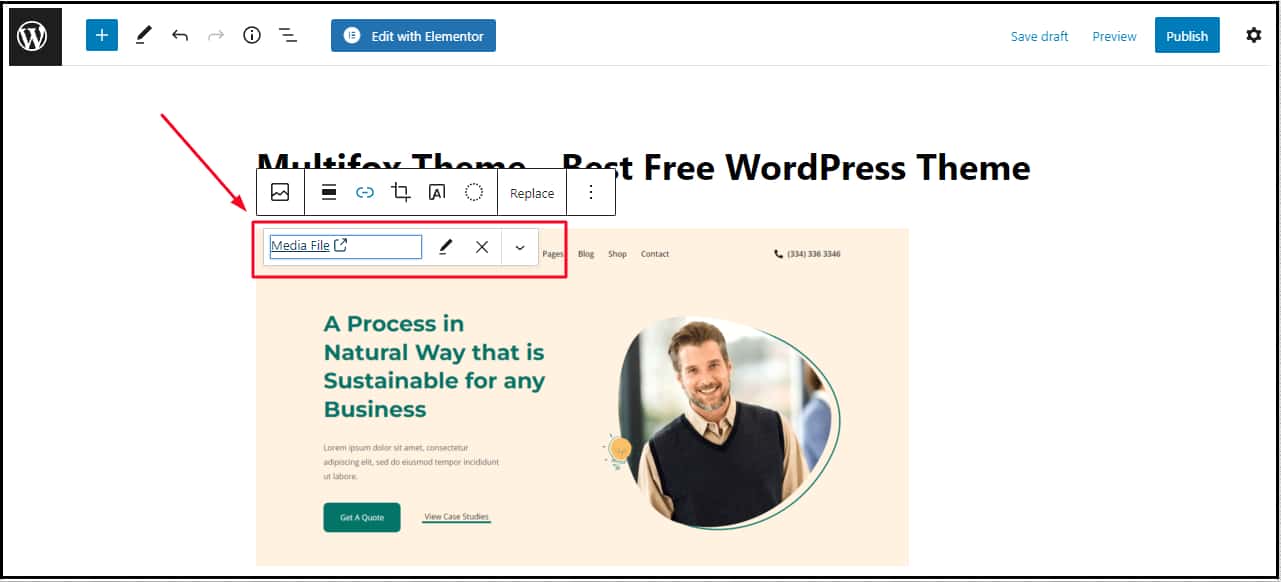
1. Click on the Uploaded Image to find this Insert link symbol as shown in the image.
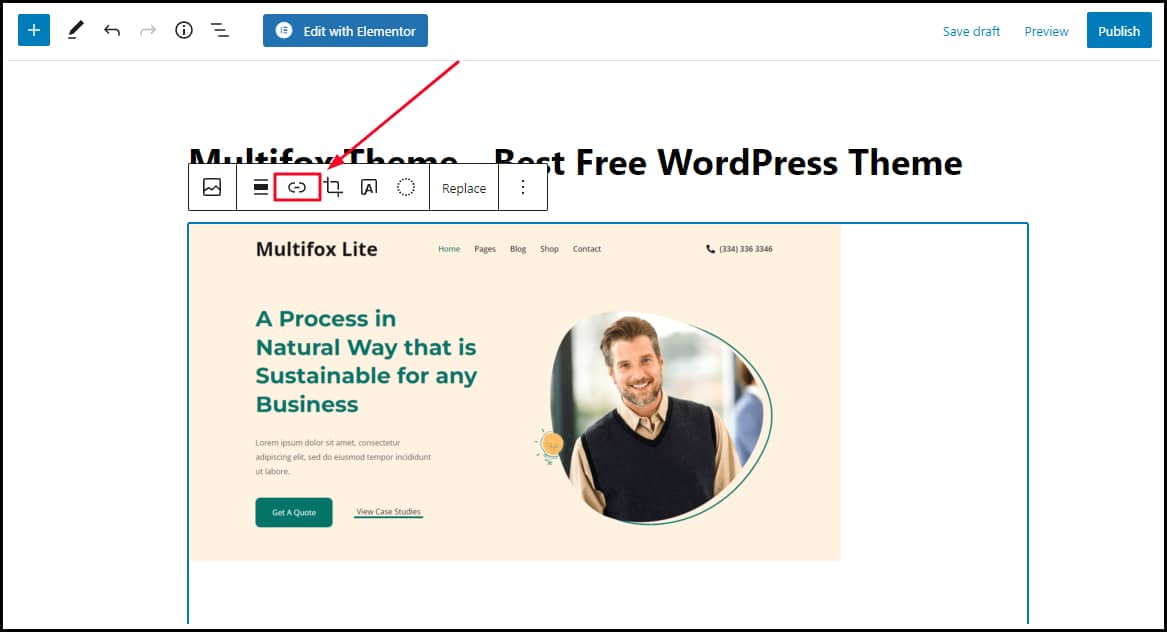
2. If you hover your mouse pointer on that symbol, it shows the text “Edit Link.” Click that symbol. A box will appear, as shown in the below image.
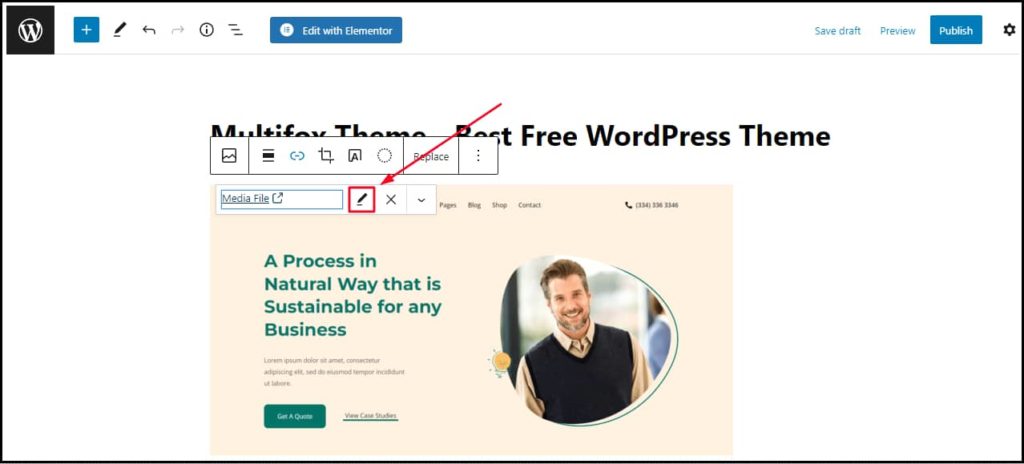
3. Click the Edit Option (The Pencil Icon)
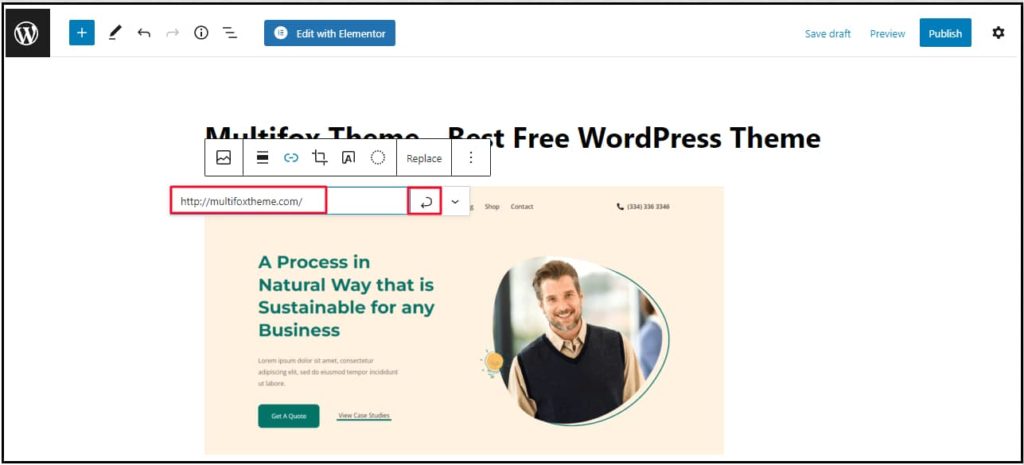
4. Add the relevant link inside the given box and click the left-side facing arrow symbol to attach the link.
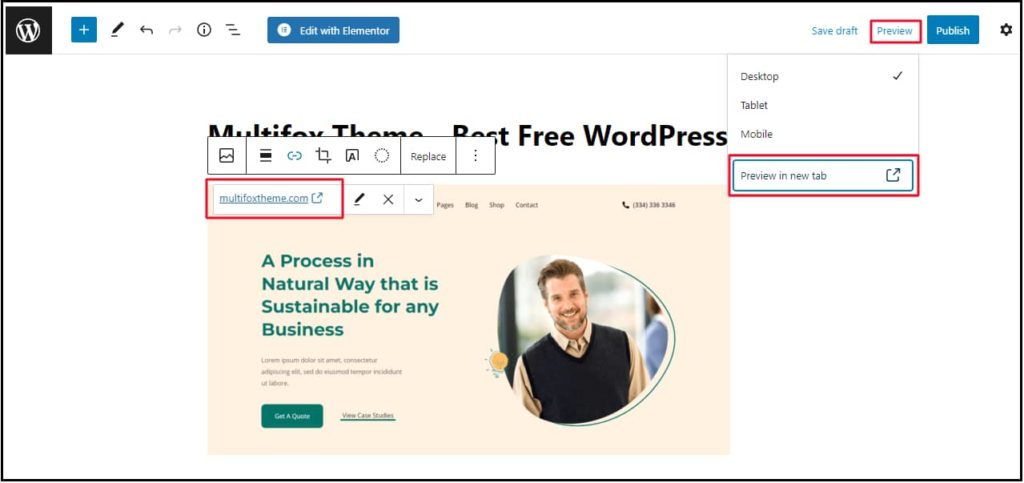
5. Once you have completed the above steps, you will see an arrow mark next to the website address. If yes, click Preview to see how it works in real-time.
Keep adding the images and attach a link to those images in the same way.
If you want to see a video on ” how to attach a link to an image in WordPress” watch this
If you want to read as a blog then Continue the reading
Elementor is one of the highest-rated drag and drop page builders for WordPress. It helps you build dynamic websites quickly and see real-time changes as you edit. Since it’s a very popular plugin among beginners, we will show you how to add images and attach links to an image using the Elementor Page Builder.
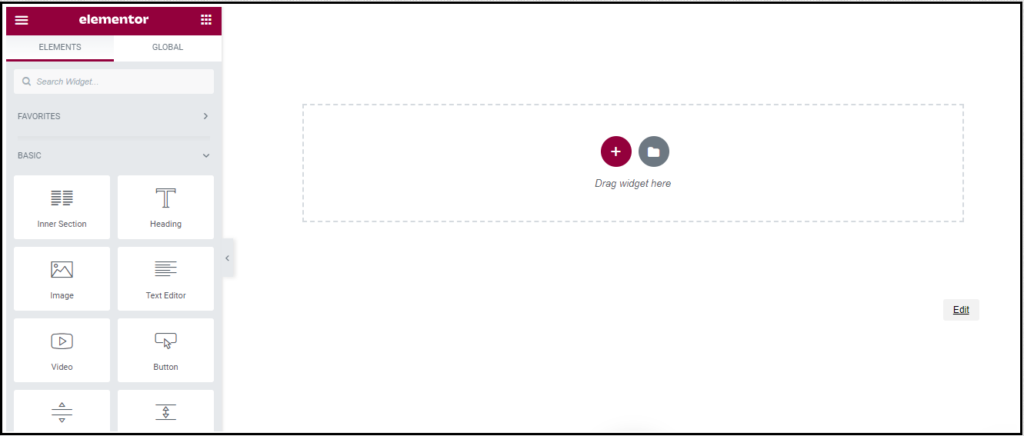
1. Drag the Image Widget from the left-hand side and drop it in the widget area as shown below.
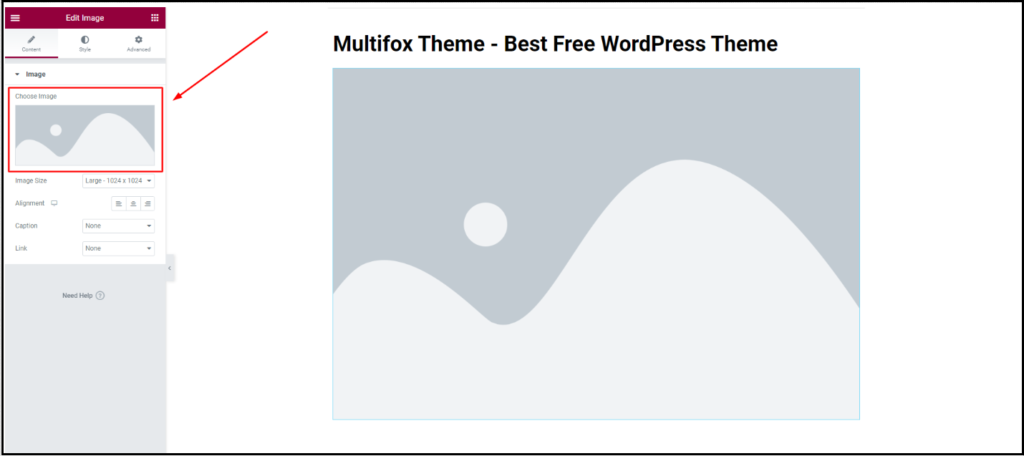
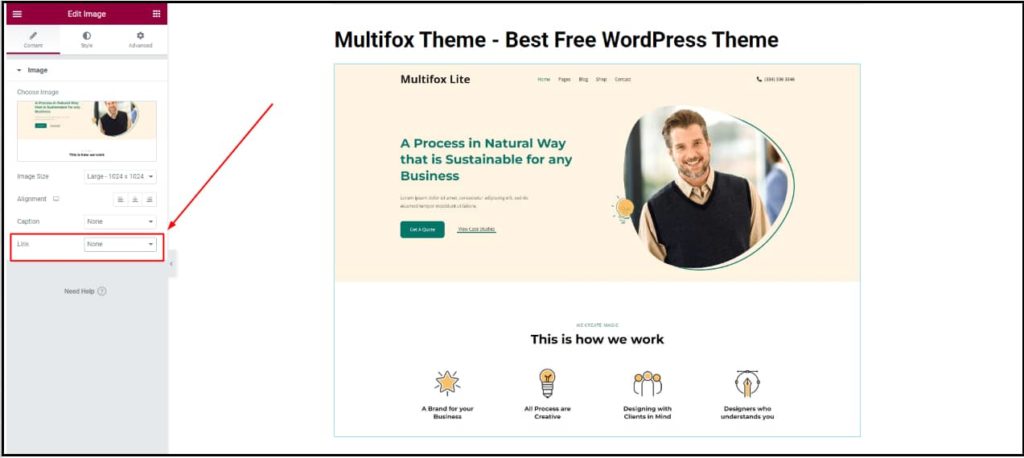
2. From the left-hand side, click Choose Image to upload the image from the device or your media library.
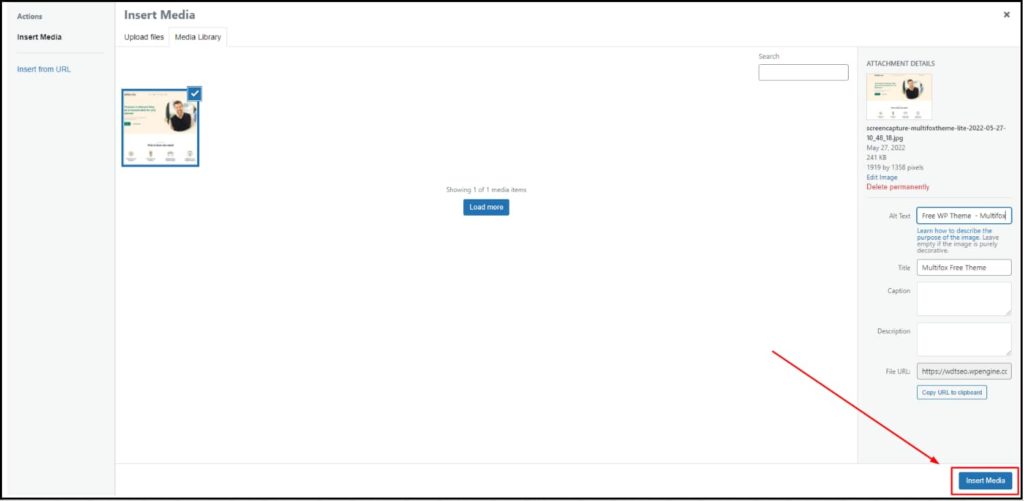
3. Once you select the image, click Insert Media to add the image.
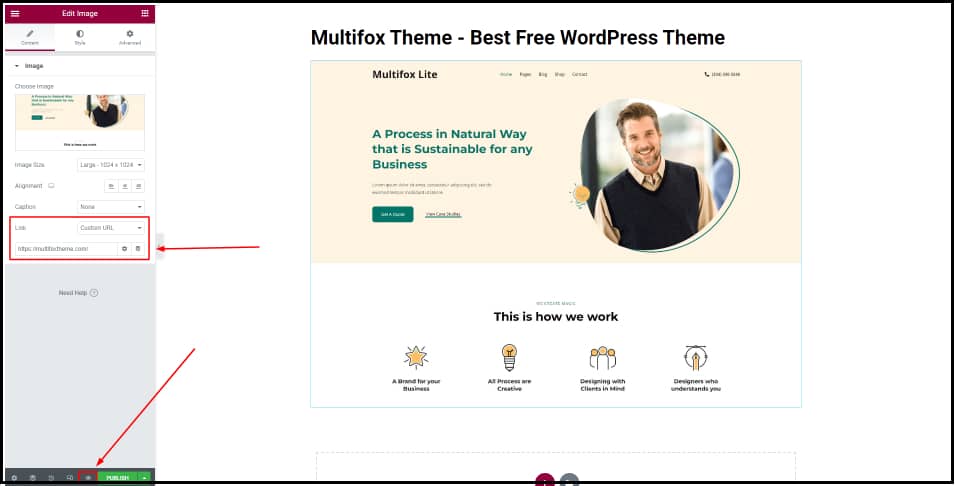
4. Now, from the Link option on the left-hand side, a drop-down menu will appear, and choose Custom URL.
5. Add your link with https:// in the prefix. You can view the changes using the preview icon.
1. Choose the correct image format:
Be clear on what image format you need to use on different pages of your websites. For example, PNG has high-quality images, but using them for all your blog posts might slow down your site speed. Instead, you can use lower-quality JPEG format images with reduced file sizes, whereas using high-quality images on landing pages.
2. Compress Images:
Even though you choose the correct image format, the pictures are sometimes too heavy. When such images accumulate for a long time, it will affect the website’s performance. So it’s advisable to compress your images as a website best practice.
3. Alt Text:
The Alt text is an alternative to your images if your site doesn’t load as expected. It has importance in terms of SEO as these texts provide a better insight into what your image is about and a way to show image relevancy with the keywords used.
4. Edit Image File Names
While saving your image in your system, customize the image default name to what that image describes. You can add keywords too. It helps search engines understand what the images are and helps rank in image search.
5. Do not use Copyright Images.
Under the DMCA law (Digital Millennium Copyright Act), anybody who owns the image can file a lawsuit against anyone who uses their images without a proper license. Why take such a risk when you can access many copyright-free images on the internet? Always make sure you use images that aren’t copyrighted.
Are you confused about finding what WordPress theme a website is using, here is our free WordPress theme detector tool.
In short, a do-follow link is provided when you want to give credit to high-value content on another site. A no-follow link is provided when you don’t want to give credit to another site’s content but still have to mention them on your website.
By default, WordPress links are do-follow. If you want to make it no-follow, you can edit it in the Link option. Check the box that says Add nofollow while attaching the link in WordPress editor or page builders.
When you make the link to a no-follow, a rel=” nofollow” tag will be added to the link.
Once you attach the link, go to the link options. Then check the box, “Open in a New Tab.”
These are the simple steps to attach a link to an image in WordPress,
Here, you can read our related article how to disable user registration in WordPress and also read how to hide featured image in WordPress post (single & archived pages) its useful for the beginners.
We hope this article helps to learn how to attach a link to an image in WordPress in simple steps. For more tutorial visit our blog.
If you’re planning on running or are currently running an educational website, then you should add an LMS or a learning management system plugin...

SEO content is defined as the type of content that is written in accordance with various guidelines in order to play a role in...