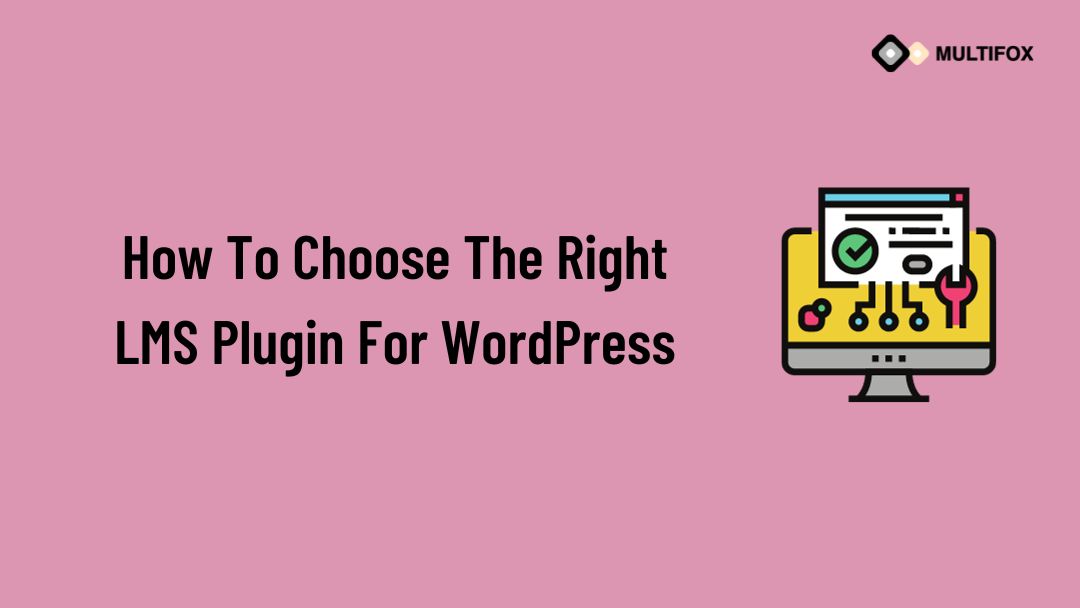
If you’re planning on running or are currently running an educational website, then you should add an LMS or a learning management system plugin...
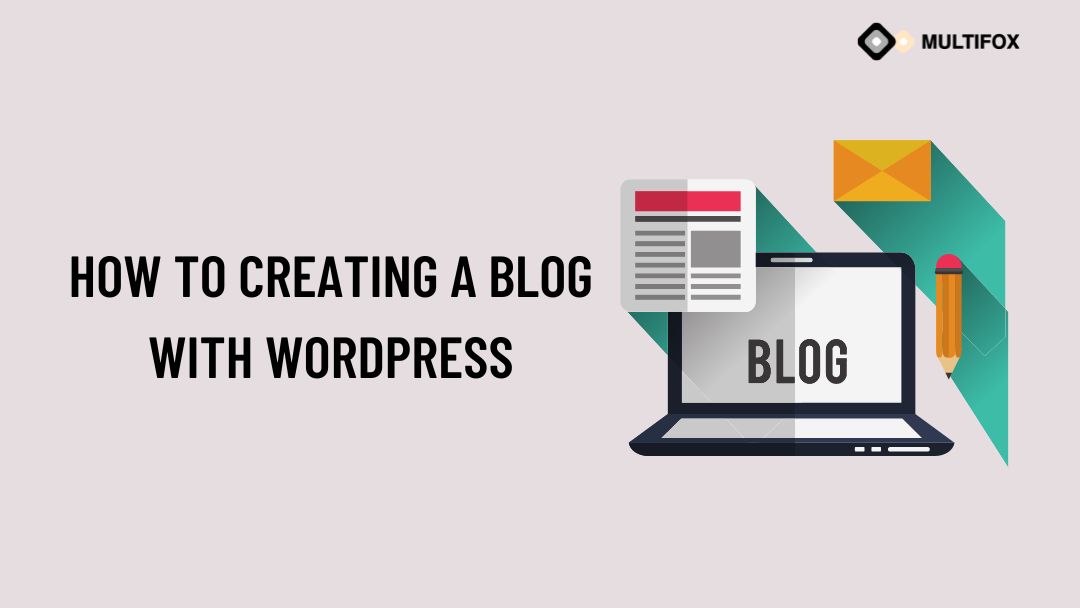
Even if you are Beginner to write a blog, We’ll guide you through our step-by-step procedure for creating a blog with WordPress. If you don’t have any prior experience in web design and coding, need not worry about that. With the guidance and right tools, you can have your own blog up and running in less than 20 minutes. Though writing blog posts may take longer.
In our similar posts about the best free blogging platforms, We suggest WordPress is the best solution for beginners to start a blog as well as for professional bloggers.
Table of Contents
The first thing you need to plan is to choose whether you are going with a free blog or you build a unique self-hosted blog with your own domain name.
We highly recommend going with a “self-hosted” blog, as it gives you more control and functions over the free blog. Having your own domain name like www.YourSiteBlog.com will make your blog to look more professional than free domain having a name like YourSiteBlog.FreeBlogPlan.com
We recommend avoiding the free blogging service, As your blog features will be very limited and your blog service provider may display ads and you might have no control of your blog. And it means that if your blog fails to follow their Terms of Service, they can delete your blog. If you are serious about your blog and willing to be committed, then we suggest getting a domain name and web hosting first and then launching your blog.
In order to create a blog, here’s an easy step-by-step guide:
The above-said steps don’t require any technical knowledge and hence, go through the following whole process to set up your blog post.
Once you make your blog up and keep running, you would probably be required to start writing and mostly tweaking its appearance and functionality. To help you with that, we’ll show you how to do.
To get started with your self-hosted blog, and to make your blog accessible to people around the world, you need two things:
It’s possible to purchase your hosting and domain at the same time. Hence you need not worry about that right now.
We recommend Bluehost to new WordPress bloggers as well as professional bloggers, As they are one of the WordPress recommended hosting service providers.
Here are some reasons:
It’s Cheaper than other hosting service providers having plans starting with just $2.95 per month for your first 12 months.
Free Domain name: You will get a free domain name with the hosting plan. Else you have to pay $10+ for a domain name.
It’s more affordable: It ties with the most affordability, where it can easily fit in your pocket.
WordPress is easy to install: With just a few clicks, you can launch a new WordPress website and have a working blog. No technical skills are required!
It provides enough performance for you to get started. While you’re starting up, Bluehost offers a lot of performance tools to keep your site loading fast.
Above all, it will cost you around $35 to host your blog at Bluehost for the entire year, which includes your free domain name.
That’s about to be cheap as it’s going to get if you need to create a WordPress blog.
Whatever web hosting service you may choose, but make sure it has the “quick install” feature for blogging platforms such as WordPress. This will make your established process much easier.
Whichever domain name you decide on, ensure it’s easy to remember and preferably brandable. You can also use your name as a website name. For domain endings, we suggest going with .com, .net or .org.
We’ve been recommending Bluehost as a blog hosting service and domain registrar for years.
(Note: if you already own a domain name and hosting plan, you can skip this step)
Since we’re using Bluehost and have been for a long while.
Here’s what you’ll see when you select your hosting plan with Bluehost:
If you already have a domain name, just enter it where it says “I have a domain name” and click “next”.
And, If you require a new domain name, here is an easy starting point:
Although domain names usually end with .com, .org or .net, you’ll also choose for something more exotic like .shop, .online, .nyc et al. support your company and service. Our best advice, though? You can avoid the weird extensions and stick with either .com, .net or .org. They are the most annoyance and will be, therefore, make your whole blog address easier to keep in mind.
You can just input the domain name that you want to register where it shows as “new domain” and click “next”.
To get started, go to the Bluehost, If you scroll down with that page, you can see a list of Bluehost’s WordPress hosting plans.
For beginners, we recommend the cheap Basic plan because it comes with the pack with plenty of power for your fledgling blog. Click the SELECT button to start the process:
On the next screen, enter the domain name you want to use for your blog in the new domain box and click Next. Remember you are getting this for free:
While you scroll down, you can see a Package Information section at the bottom. Here, you can choose the years of hosting service you are ready to purchase, as well as any other add-ons that you require.
Once you click on the “get started now” button at Bluehost, you can be able to select the hosting plan (aka. a web server) of your choice.
We went ahead of selecting the “basic” option, which is more than enough for new blogs.
Don’t assume as wrong, the “plus” and “prime” plans are great. In addition, you can easily switch the plans, later you might need to grow your blog with enough and extra processing power.
You can save your hard-earned money and opt for the cheapest package for now.
If you need to create a WordPress blog, then it is required to install the WordPress software.
As we know, this might sound a little threatening, but we guess you will be happy to know how easy it is to install WordPress.
After you complete the Bluehost sign-up process in the previous step, you have received an email from Bluehost with the details on how to log in to the Bluehost account section.
Proceed and log in to Bluehost. Once after you log in for the first time, Bluehost may navigate with a simple wizard that takes you through the process of WordPress installation for your new website.
If you haven’t seen the setup wizard, Don’t worry, it’s still really easy to install WordPress with Bluehost. Just go to My Sites area and click the Create Site button to launch the WordPress installation wizard.
Then, you’ll be able to fill in all the important details for your website and the Username and Password that you’ll use to manage your WordPress blog.
Once you finish the install process, you can access your new blog’s dashboard by navigating to yourdomain.com/wp-admin.
Just now you learned to create a WordPress blog, and you are probably excited to get into blogging!
We’ll show you how to change your blog layouts and functions easily. At first, let’s get over just how easy it is to write a blog post on your new website.
After you log in for the first time to your blog’s WordPress dashboard, you can see a screen like this:
To write a new blog post, and hover to Posts, then click add new. It will open a new blog with a WordPress Editor, which lets you write the blog posts with a fully loaded block system.
To add text content, you just need to type the text. For any other content like images or an embedded YouTube video, you can add new “blocks”. After adding content to your blog, click publish and broadcast your blog to the world.
Even though the WordPress theme you have chosen comes with a specific pre-configured layout. But still, you can the sections of it for your choice.
This is all done then you go to Appearance → Customize. What you’ll see is the WordPress Customizer,
Based on your current theme, you will get a different set of options from the sidebar menu, but the most common ones will include:
And any other theme-dependent controls and settings.
Now, navigate to Appearance and Themes in the Dashboard menu. Search for a theme, and once you find a theme you like, you can install it as simple as clicking the “Install” button followed by “Activate.”
If you need any help to choose a theme for your WordPress website, Check out our latest WordPress themes specially built for blogs.
In addition, you may also be required to take a look at our guide on how to select the perfect WordPress theme for your website.
If you recognize the name of the free theme you would like to install, then you’ll be able to explore it by entering its name within the search field.
WordPress displays the theme in search results. You will get to take your mouse over to the theme and then click on the Install button.
To further customize your theme, you can use the feature called WordPress Customizer. This customization interface lets you make tweaks to your theme without knowing how to code.
You can access it by going to the Appearance → Customize option.
Depending on the theme that you choose, you may have a different set of options in the left sidebar. But in general, you are able to make changes by using the options on the left sidebar, See a real-time preview on the website preview on the right sidebar, then make your changes live by clicking Save & Publish button.
Page titles inform the searchers what your website is about. They’re also an enormous part of how search engines determine your page rankings. You want to make certain they’ve got the keywords you would like to possess target.
You should use a singular title on every page of your site. For example, It can be like “How to Build a WordPress Website”.
Taglines are presently extended with every title of a page. For example, “A Walkthrough guide”.
In order to vary the title and tagline on your website, navigate to “Settings -> General” and fill within the form below:
While the out-the-box look of your theme, it might be already quite nice, and you should still do some basic customizations to make it fit your needs hand-in-glove.
To begin with, go to the Appearance → Customize section. You’ll see the main WordPress Customizer interface.
From there, you can start to modify a load of things. We would start from the homepage as it’s in most priority.
Set up your Homepage
Also Read:
If you’re planning on running or are currently running an educational website, then you should add an LMS or a learning management system plugin...

SEO content is defined as the type of content that is written in accordance with various guidelines in order to play a role in...